
Using a Public Domain to Access Private Services
In the previous article, I explained how to configure a Mac mini homelab and use Tailscale to connect to it remotely. Although Tailscale provides MagicDNS, you still have to access services using the MagicDNS:port format. This article walks through, step by step, how to use a public domain with HTTPS to access services running inside your private network.
The limitation of Tailscale
Imagine the following setup:
Two Docker services:
Service A running on port
3000Service B running on port
3001
A domain
abc.commanaged by CloudflareA public VPS with an IPv4 address
In a traditional setup, you would expose these services like this:
a.abc.com→ Service Ab.abc.com→ Service B
You’d add DNS records in Cloudflare and use Nginx to reverse-proxy traffic to the corresponding services.

What Changes with Tailscale?
Tailscale provides MagicDNS, for example:
homelab.xxxx.ts.net
However, MagicDNS does not support wildcard subdomains, which means:
You cannot access services via:
a.homelab.xxxx.ts.netb.homelab.xxxx.ts.net
Instead, Tailscale offers the serve feature, which forces you to use:
homelab.xxxx.ts.net:3000homelab.xxxx.ts.net:3001
Technically it works—but let’s be honest: It’s ugly.
Can We Use a Public Domain?
Yes—but with a catch.
You can configure a wildcard subdomain in Cloudflare, such as:
*.homelab.abc.com
and point it to your homelab’s private IP address (reachable only through Tailscale).
With this setup, once the Tailscale tunnel is active, you can access:
a.homelab.abc.comb.homelab.abc.com
via a reverse proxy (Nginx or Caddy).
Sounds perfect, right?

The HTTPS Problem
There’s one critical issue.
Modern browsers strongly discourage (or outright block) visiting websites without HTTPS.
You might think:
“No problem, I’ll just get a Let’s Encrypt certificate.”
Unfortunately, that won’t work.
Let’s Encrypt will not issue certificates for:
Private IP addresses
Non-publicly routable endpoints (like Tailscale IPs)
So how do we get HTTPS?
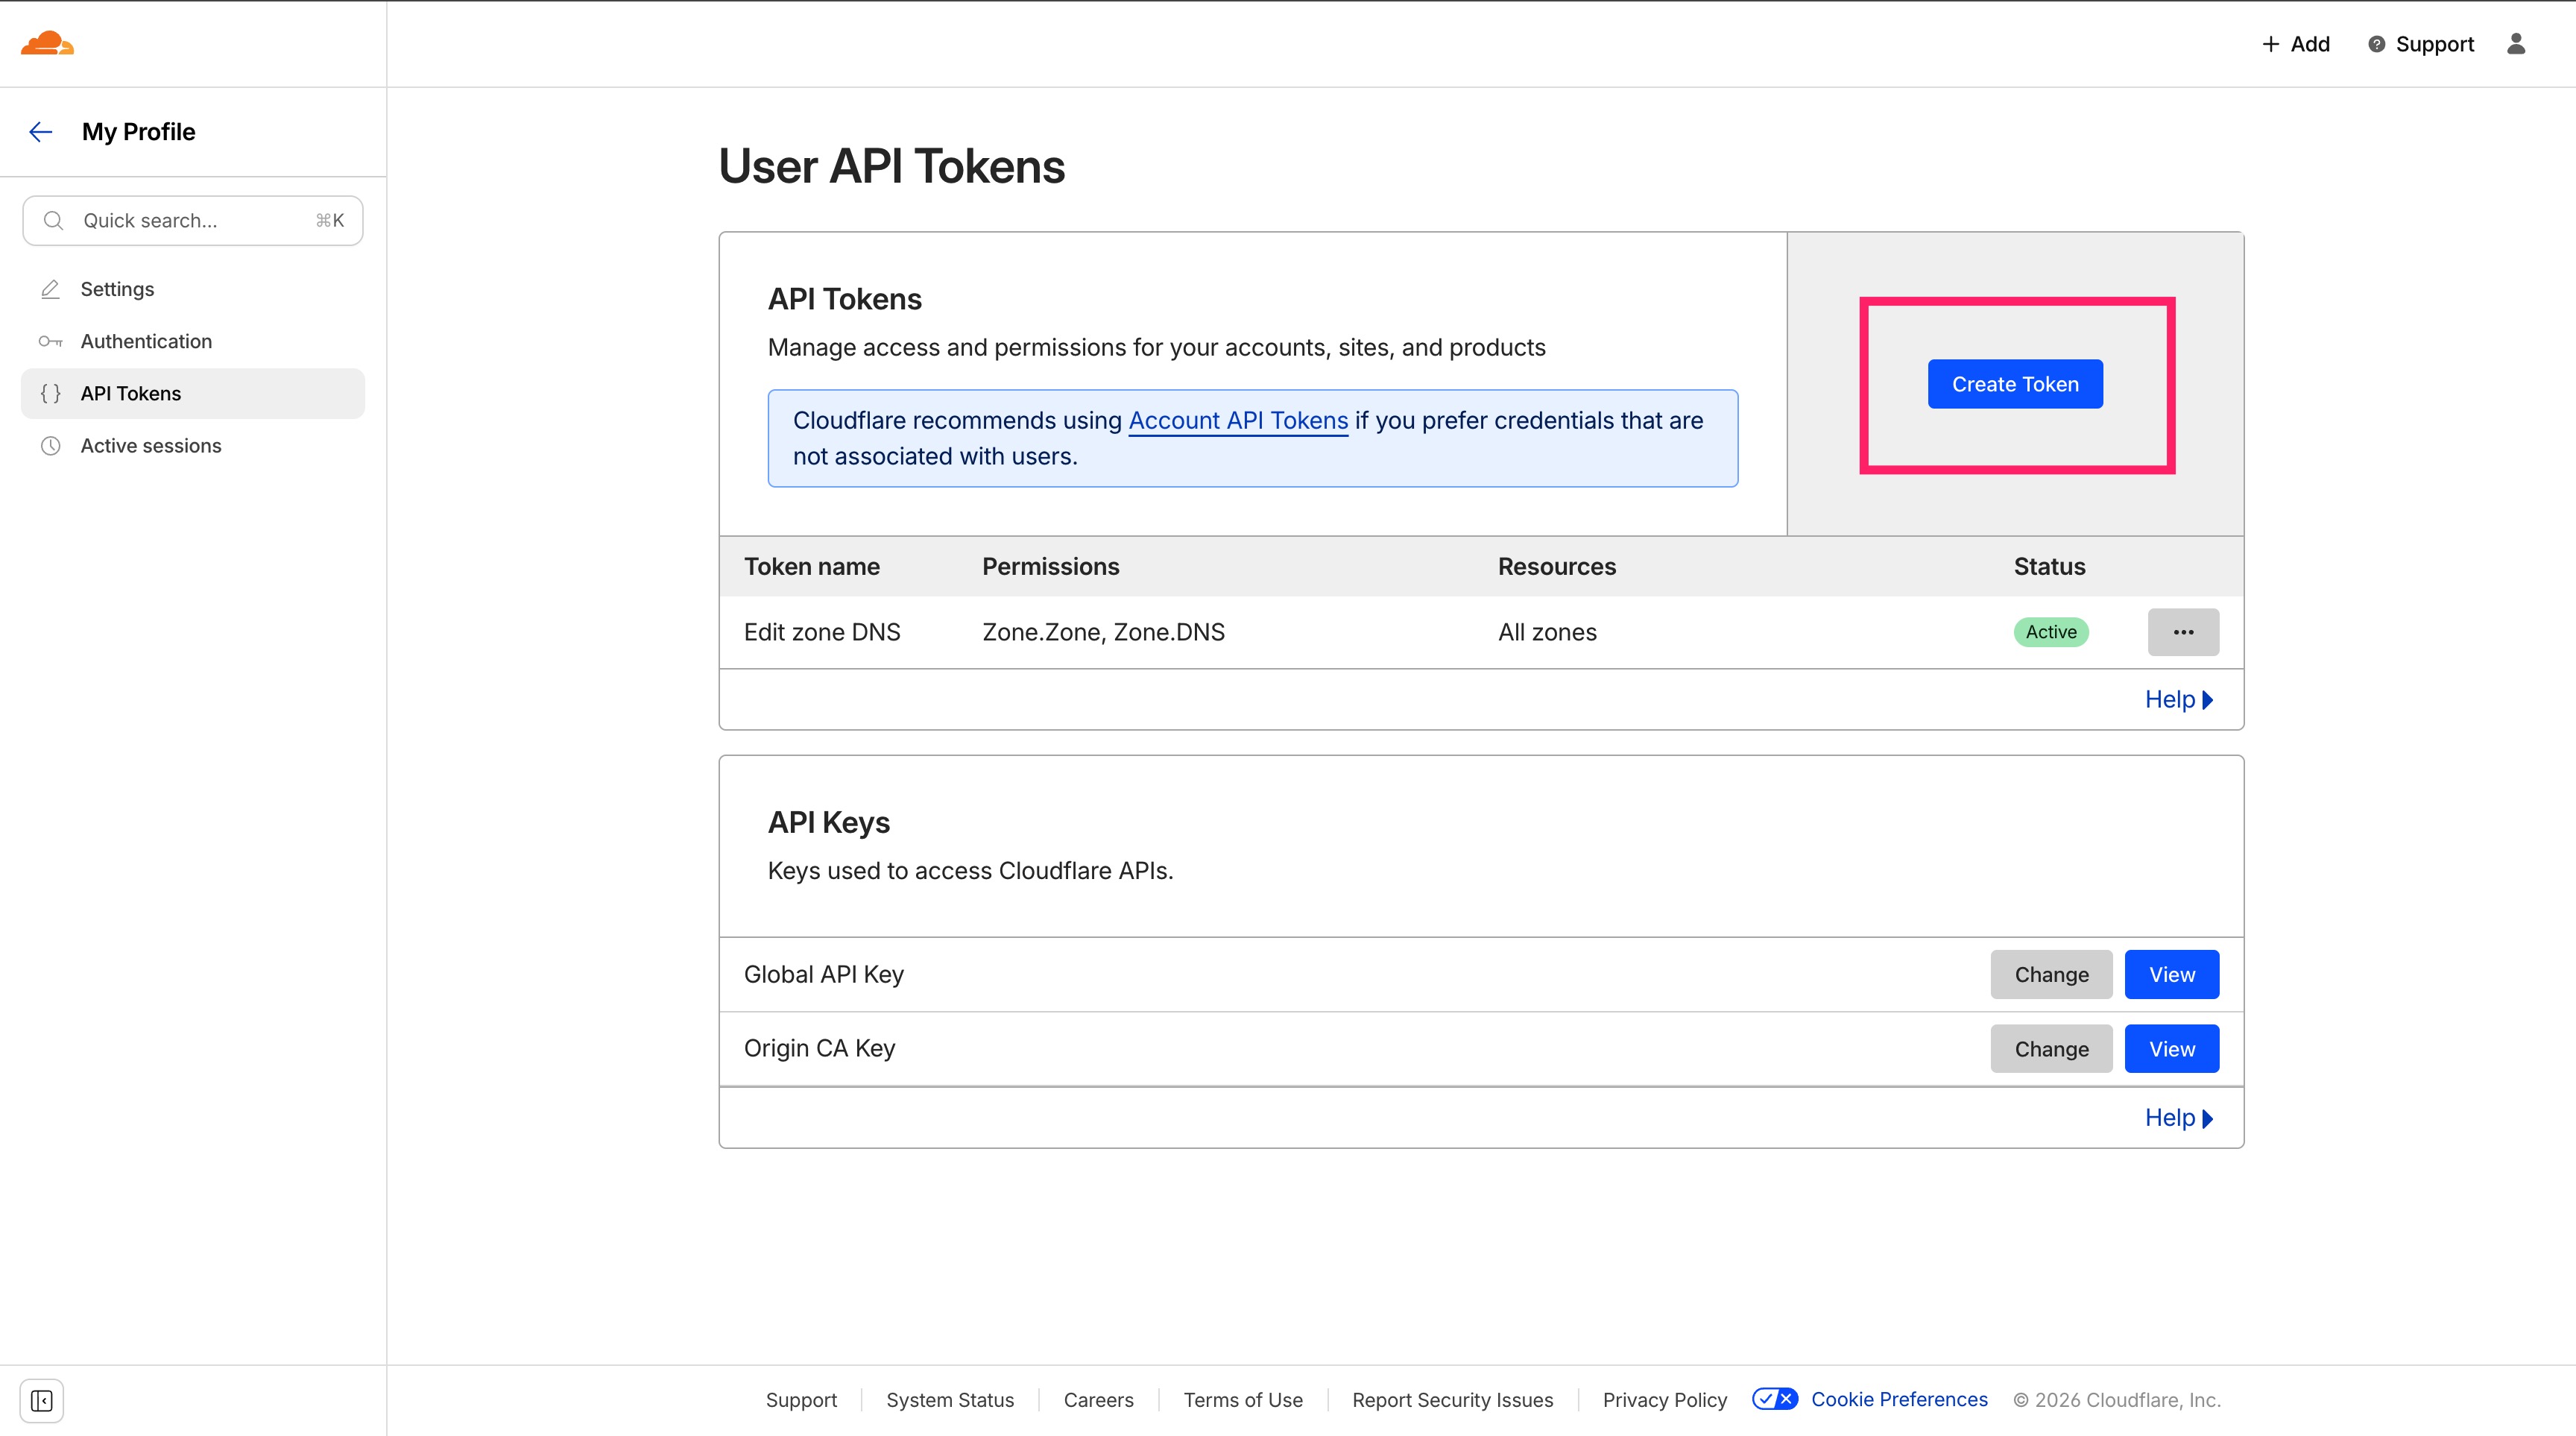
Using a Cloudflare API Token
The solution is DNS-01 validation using Cloudflare’s API. Go to: https://dash.cloudflare.com/profile/api-tokens and click Create Token.
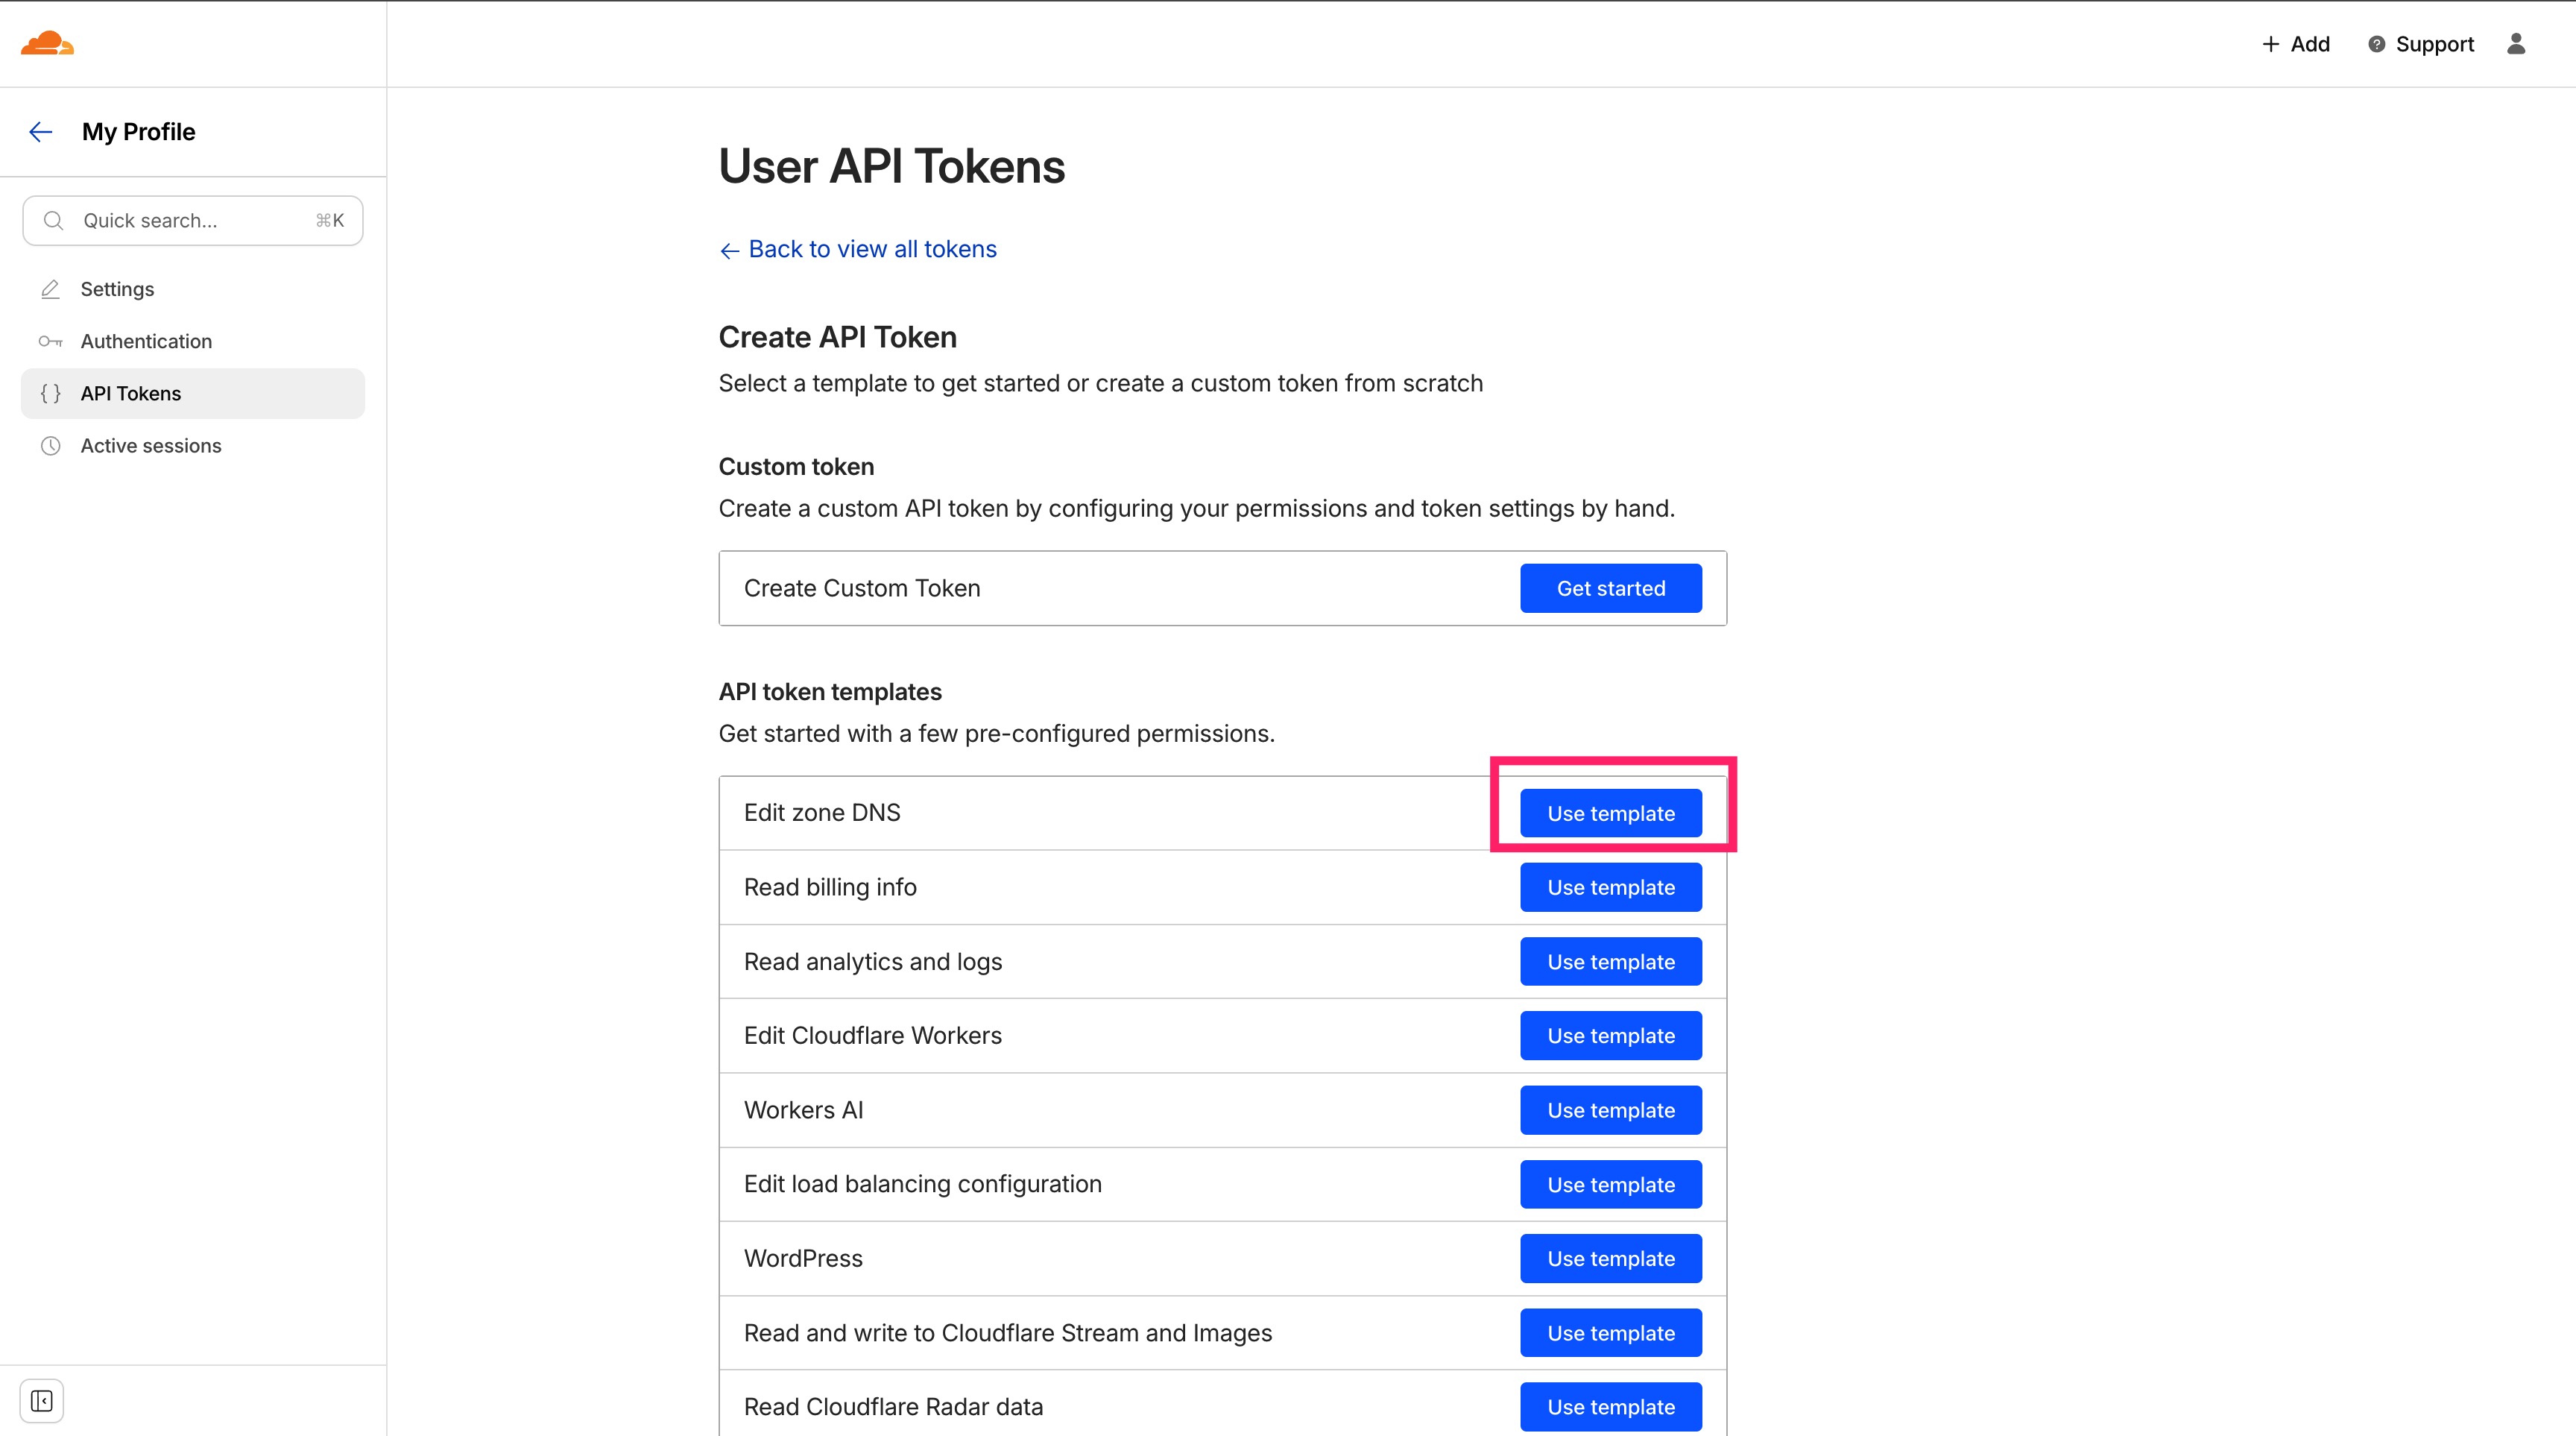
Use the Edit zone DMS template.
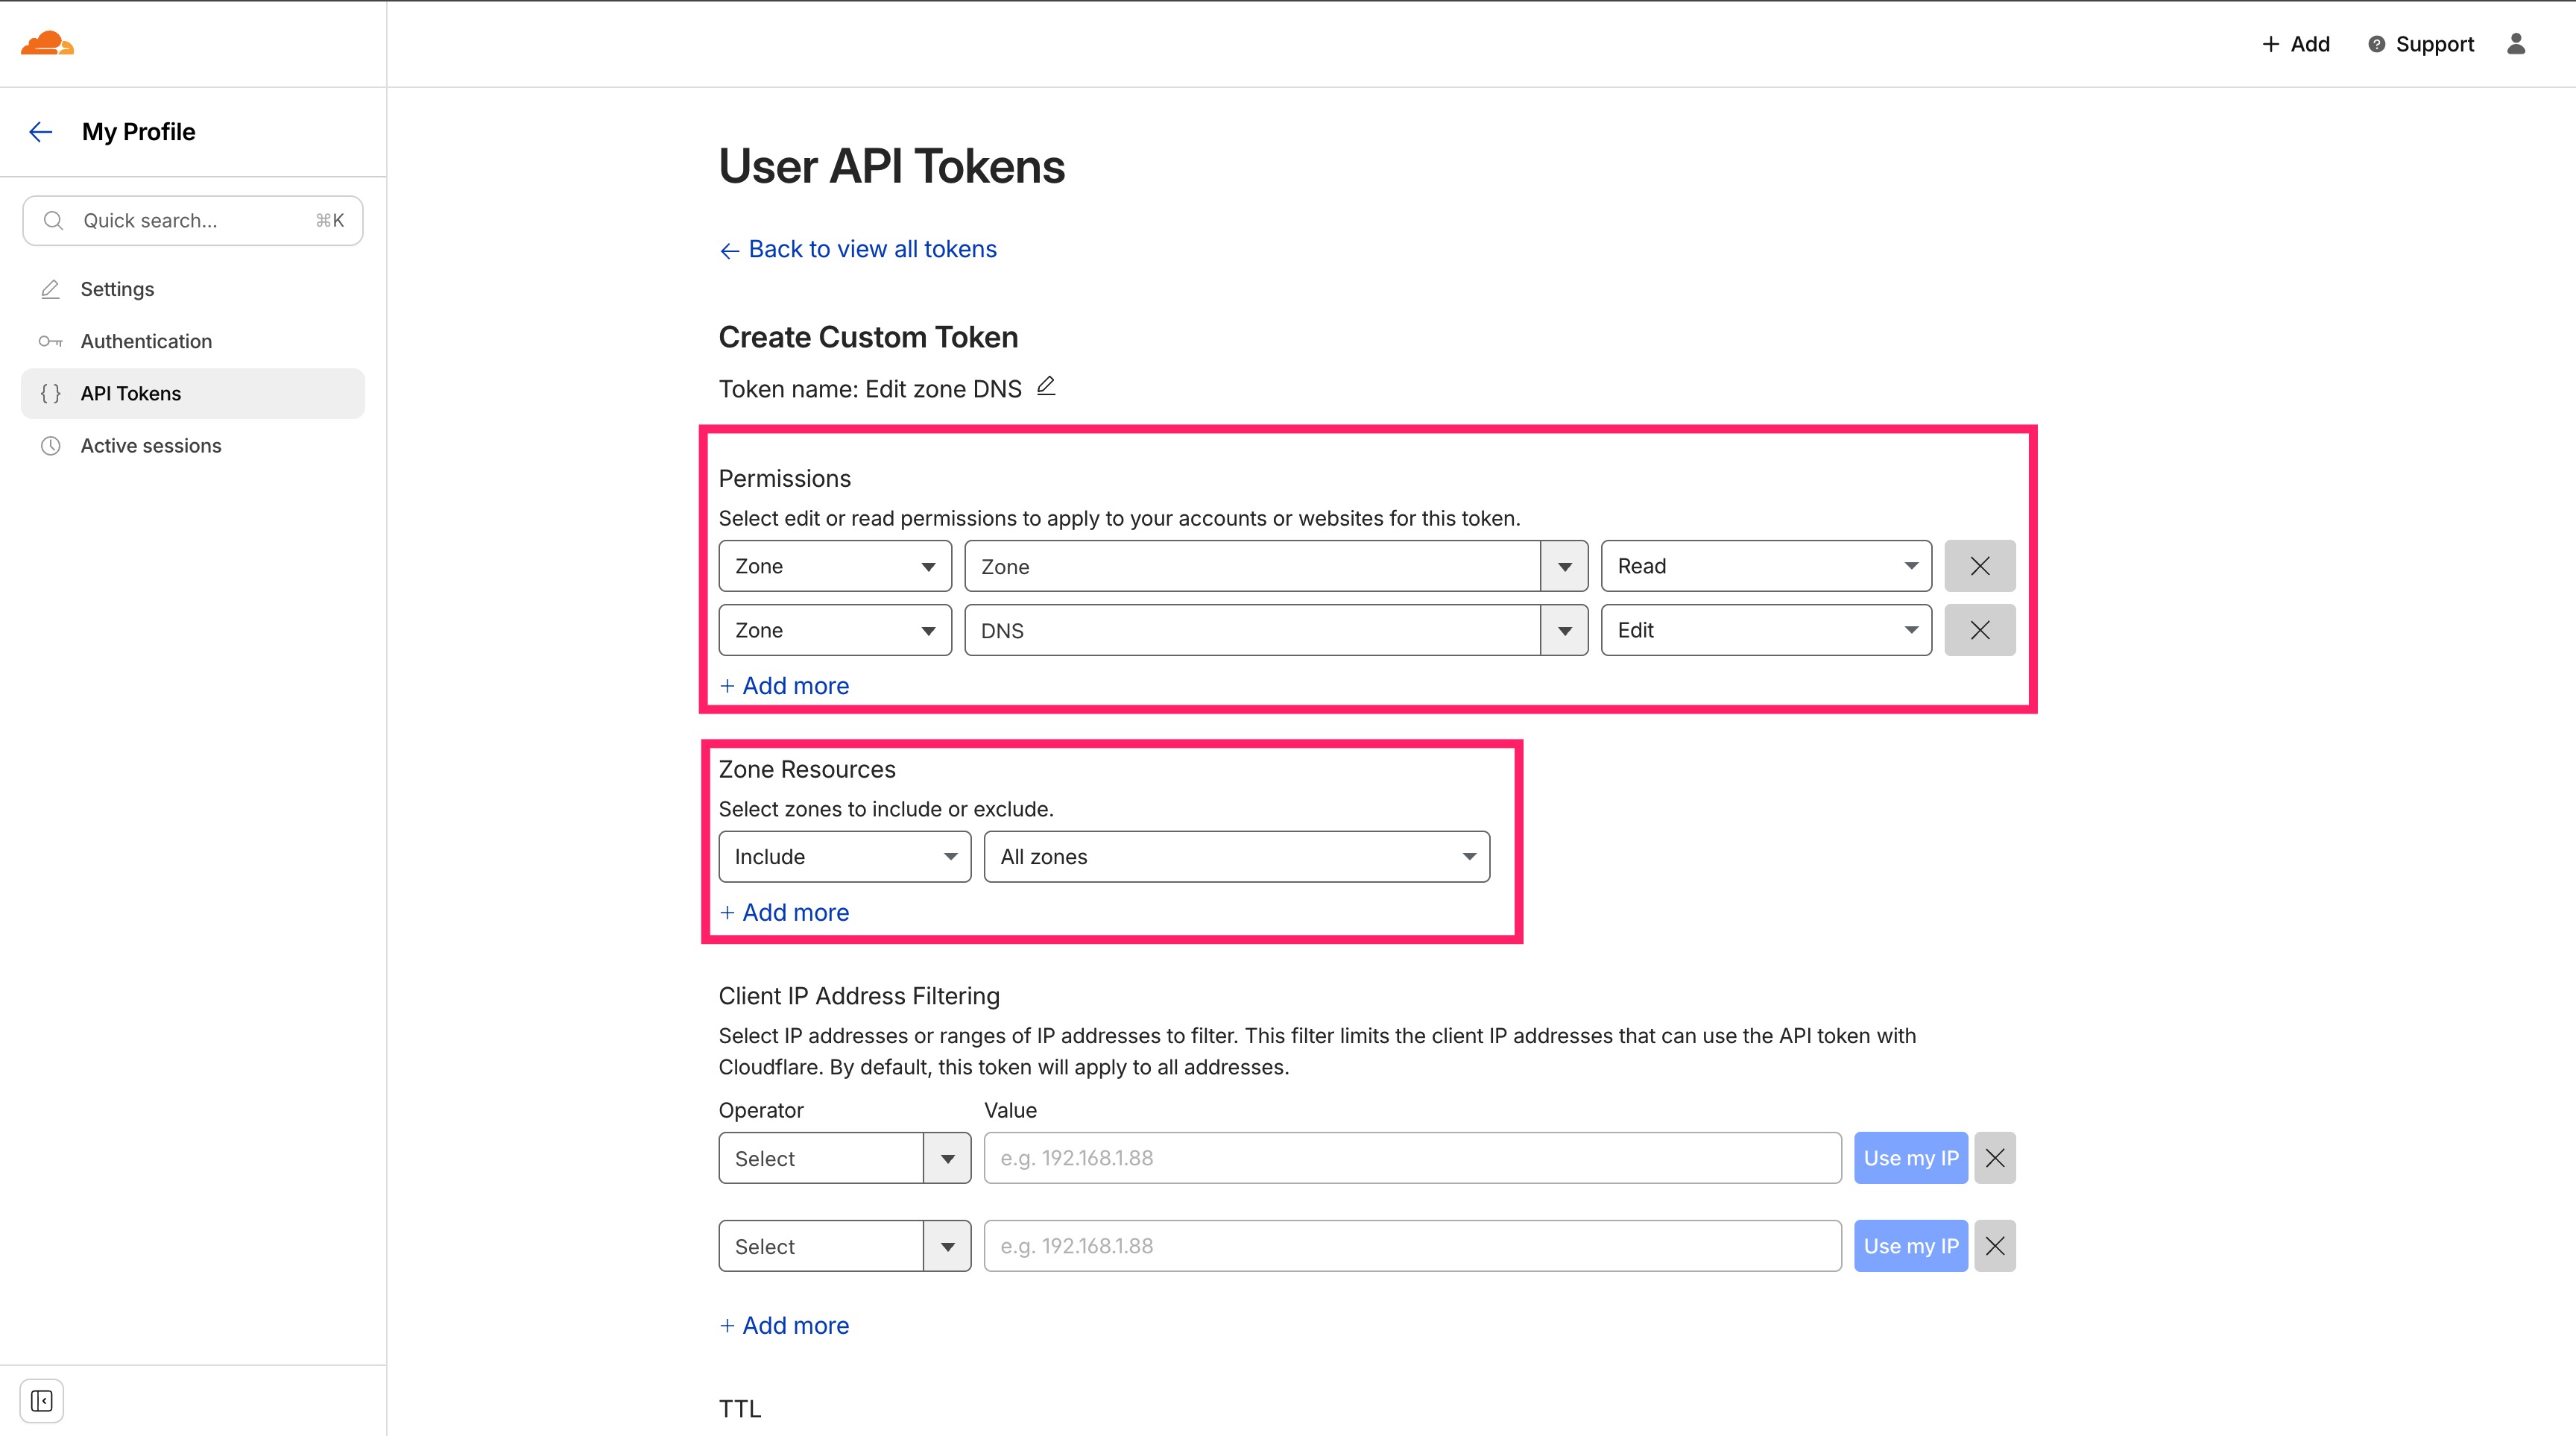
Set the permissions as follows:
Permissions
Zone → Zone → Read
Zone → DNS → Edit
Zone Resources
Include → All zones
Finish the setup and save the generated API token. Important: This token is shown only once—store it securely.
Reverse Proxy Your Services (with Caddy)
This time, we’ll use Caddy v2 instead of Nginx, because Caddy handles HTTPS automation extremely well.
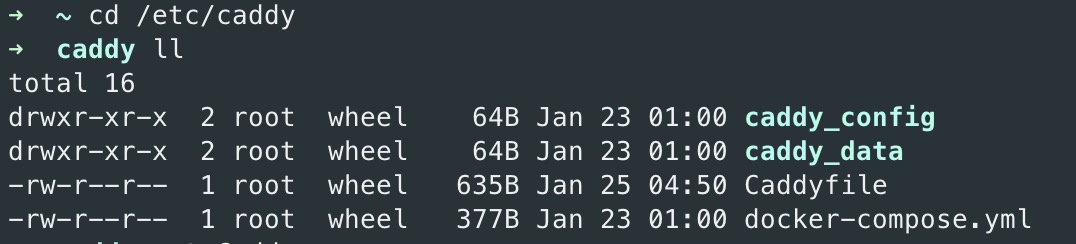
Create the following structure:
.
├── caddy_config/
├── caddy_data/
├── Caddyfile
└── docker-compose.yml
docker-compose.yml
Paste your Cloudflare API token into the environment section and start Caddy with: docker-compose up -d
services:
  caddy:
    image: caddy:latest
    container_name: caddy
    restart: unless-stopped
    ports:
      - "80:80"
      - "443:443"
    environment:
      - CLOUDFLARE_API_TOKEN=<YOUR_CLOUDFLARE_API_TOKEN>
    volumes:
      - ./Caddyfile:/etc/caddy/Caddyfile
      - caddy_data:/data
      - caddy_config:/config

volumes:
  caddy_data:
  caddy_config:
Install the Cloudflare DNS Module
The official Caddy image does not include the Cloudflare DNS module by default. Run the following commands:
docker exec -it caddy sh
caddy add-package github.com/caddy-dns/cloudflare
Tailscale DNS Configuration (Important)
Before configuring Caddy, go to Tailscale Admin Console and add public DNS resolvers:
Cloudflare DNS:
1.1.1.1Google DNS:
8.8.8.8
Path:
DNS → Global nameservers
This ensures DNS-01 validation works correctly inside the Tailscale network.

Configure the Caddyfile
Below is a minimal example.
Visiting a.homelab.abc.com will return a static response:
{
        acme_dns cloudflare {env.CLOUDFLARE_API_TOKEN}
}

a.homelab.abc.com {
	respond / "Hello, world! This is a static response from Caddy." 200
}
Once this is working, you can replace respond with reverse_proxy to point to your actual services.